I’ve just finished On Writing by Stephen King. I’m too much of a chicken to read his fiction (I read “The Monkey” in high school and that cymbal-banging monkey still gives me the creeps). But this book about writing—and the writer’s life—was surprisingly insightful and generous and inspiring. I kept reading bits of it to Tim because what King wrote is so true that I had to share it with someone.
I came away from the book pumped and ready to plunge into writing fiction. But then I didn’t. Instead I got busy knitting and playing the piano and cleaning the house. I exercised, went to see a play, hung out with friends, wrote a few blog posts. In fact, I did everything but write fiction.
So when I came across this photograph and quote by Julian Bialowas, it struck a nerve: “To live a creative life you must lose your fear of being wrong.” Oy. Tim says my problem is that I spent too much time as an editor so I expect my writing to come out printing-press ready. I’m afraid he’s right. After years of gainful employment as a writer of stuff that got used, the idea of spending weeks—even months—writing something that might fail kills me.
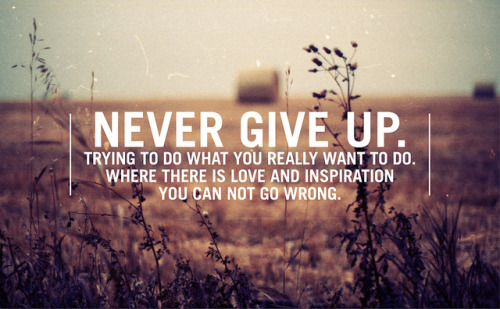
The other day a friend shared a story with me about a man who spent two years writing a book. He asked his friends to read it and tell him what they thought. They all said it was terrible. So he tossed it and started a new book. His next attempt ended up being a New York Times bestseller. Talk about the stuff of writer legends. The lesson I would be wise to learn from this story is that the two years Mr. Author spent writing the first book were not wasted. He learned a lot, most of it apparently about what not to do, and applied it to his next project.
Aren’t we all trying to live a creative life, one way or another? If you’re feeling stuck, or even if you aren’t, you should check out Julian Bialowas’s website. Julian is a photographer, graphic designer, and co-creator of the magazine 16 Hours. It was hard to pick just a few of his photographs to share because they’re so gorgeous and the quotes are so perfect.

{found via evie s.}


